> ## Documentation Index
> Fetch the complete documentation index at: https://kb.mochahost.com/llms.txt
> Use this file to discover all available pages before exploring further.
# Getting started with WooCommerce on mochahost.com Managed WordPress
> Learn how to create your first WooCommerce site on mochahost.com Managed WordPress.
WooCommerce is a popular open-source ecommerce platform built on WordPress. Creating a WooCommerce-powered site on mochahost.com Managed WordPress is quick and easy.
# Installing WooCommerce\*\*
To create a new site and install the WooCommerce plugin, follow these steps:
1. Log in to the Hosting Panel at [https://clients.mochahost.com/](https://clients.mochahost.com/)
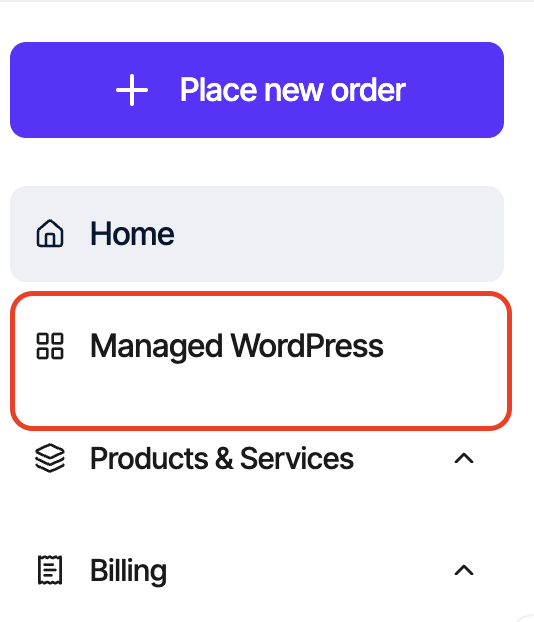
2. In the left sidebar, click **Managed WordPress**:
3. On the My Websites page, click **Add Website**:

4. On the **Add a Website page**, in the Site name/label text box, type your WordPress site’s name:
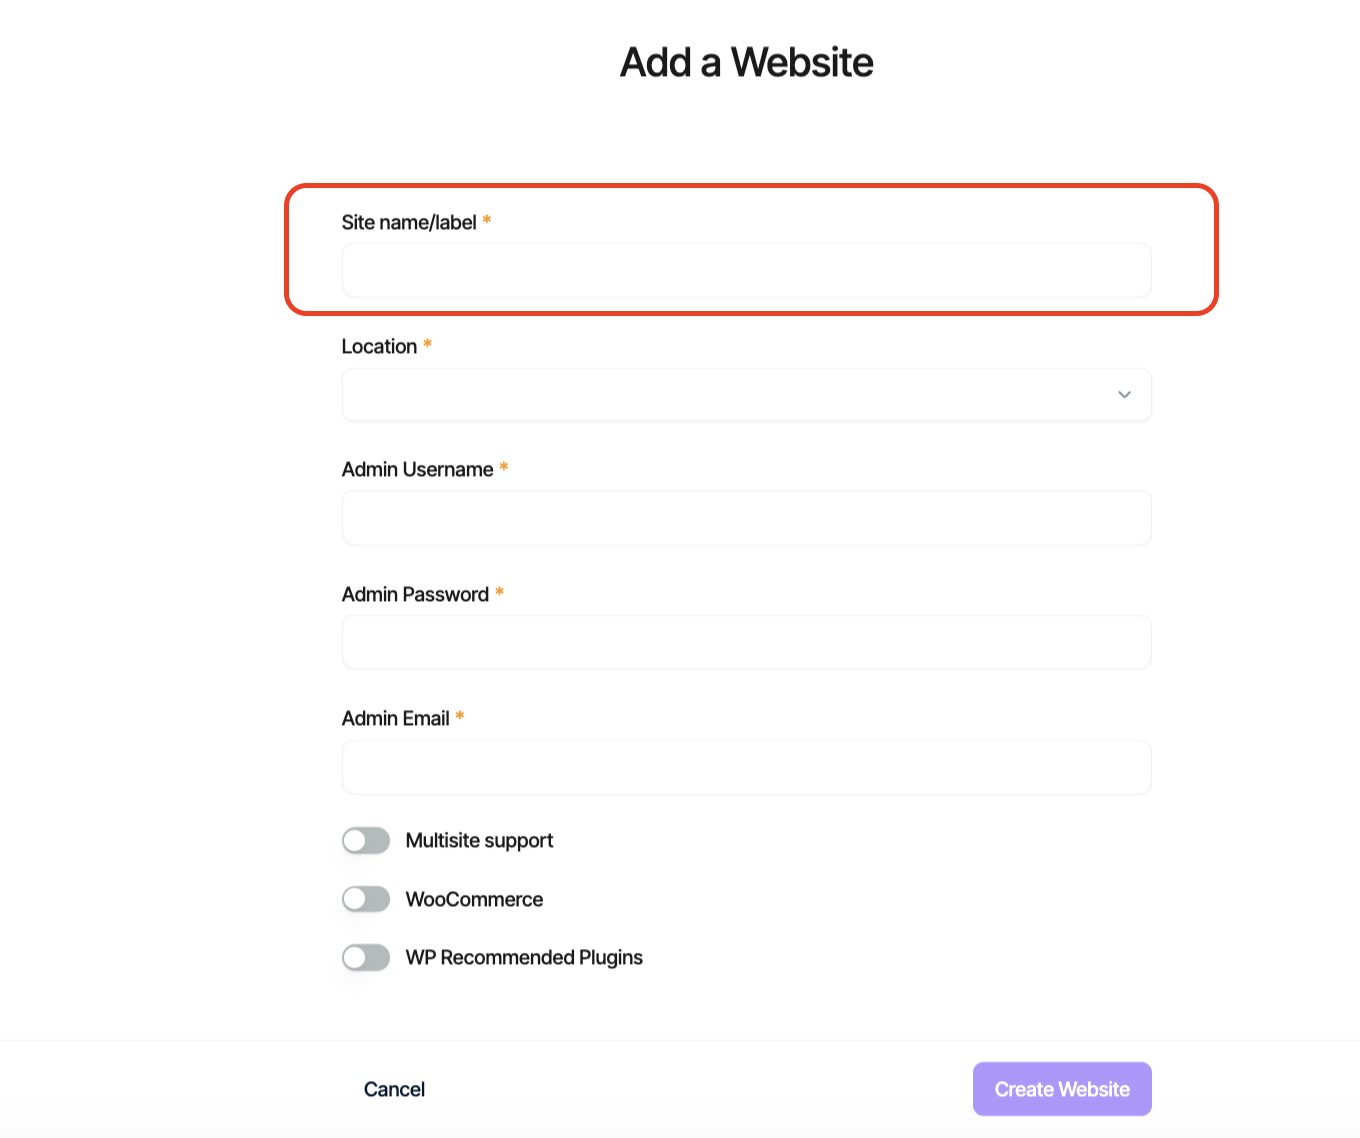
5. In the **Location** list box, select the location for your WordPress site.
**Tip**
This selection doesn't impact your visitors, because they will be using Cloudflare Enterprise. Instead, it should be a location geographically close to you, because your work in the WordPress Dashboard is not cached.
6. In the **Admin Username** text box, type the admin username you want to use.
**Important**
You will use this username to log in to your WordPress installation. You can add additional users later on. For greater security, we recommend using a name besides `admin.`
7. In the \*\*Admin Password \*\*text box, type a complex password for the admin user.
**Important**
Never reuse old passwords.
8. In the **Admin Email** text box, type your admin email address to receive important WordPress emails.
9. Click the **WooCommerce** slider.
10. Click **Create Website**. Managed WordPress creates the WordPress site and installs the WooCommerce plugin. You are now ready to activate the WooCommerce plugin.
# Activating WooCommerce
To activate the WooCommerce plugin, follow these steps:
1. Log in to the Hosting Panel at [https://clients.mochahost.com/](https://clients.mochahost.com/)
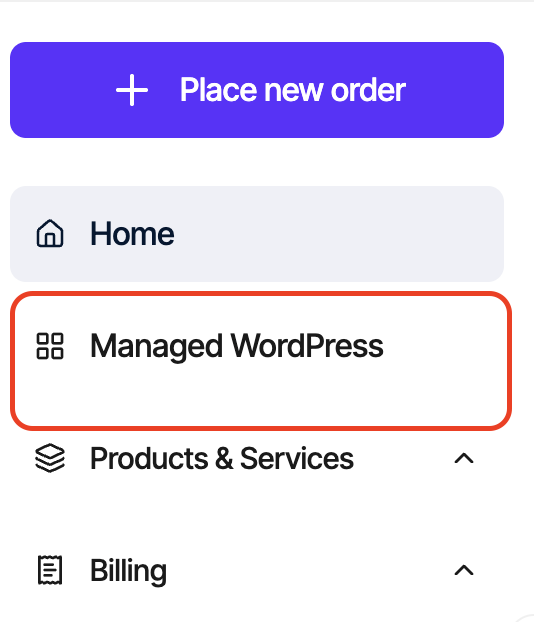
2. In the left sidebar, click **Managed WordPress**:
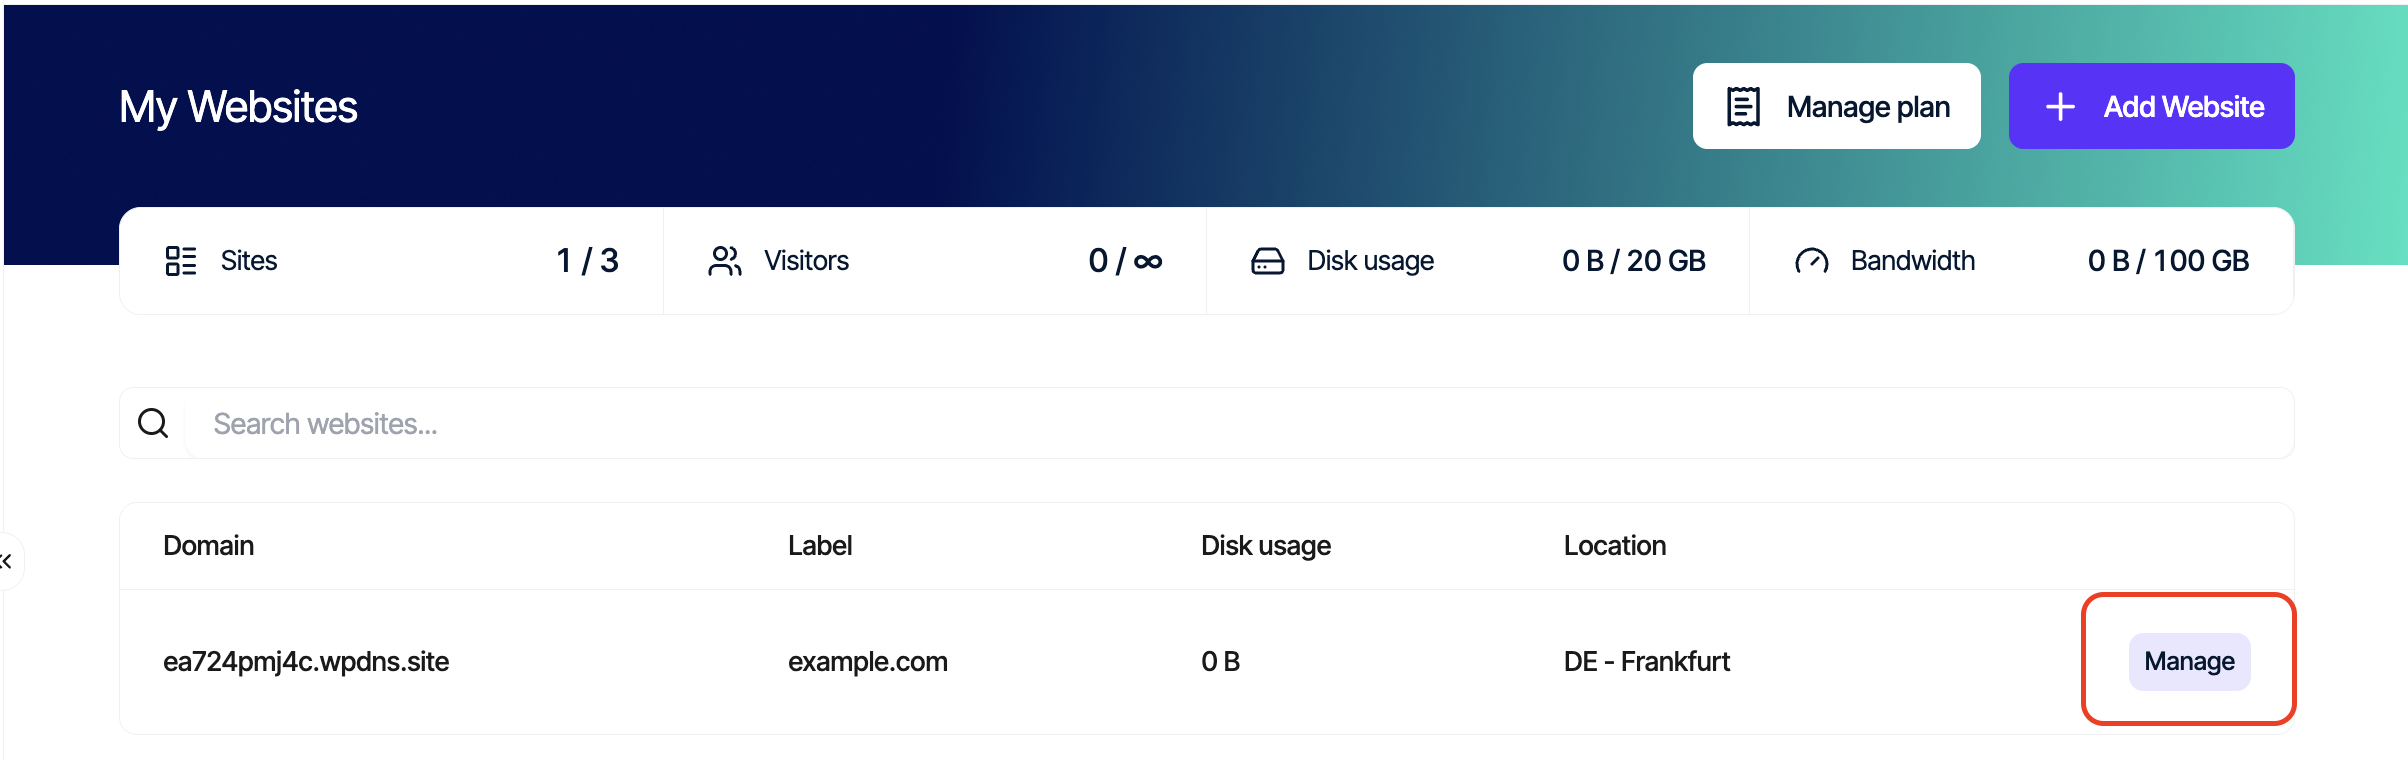
3. On the **My Websites** page, locate the site you created in the previous procedure, and then click **Manage**:
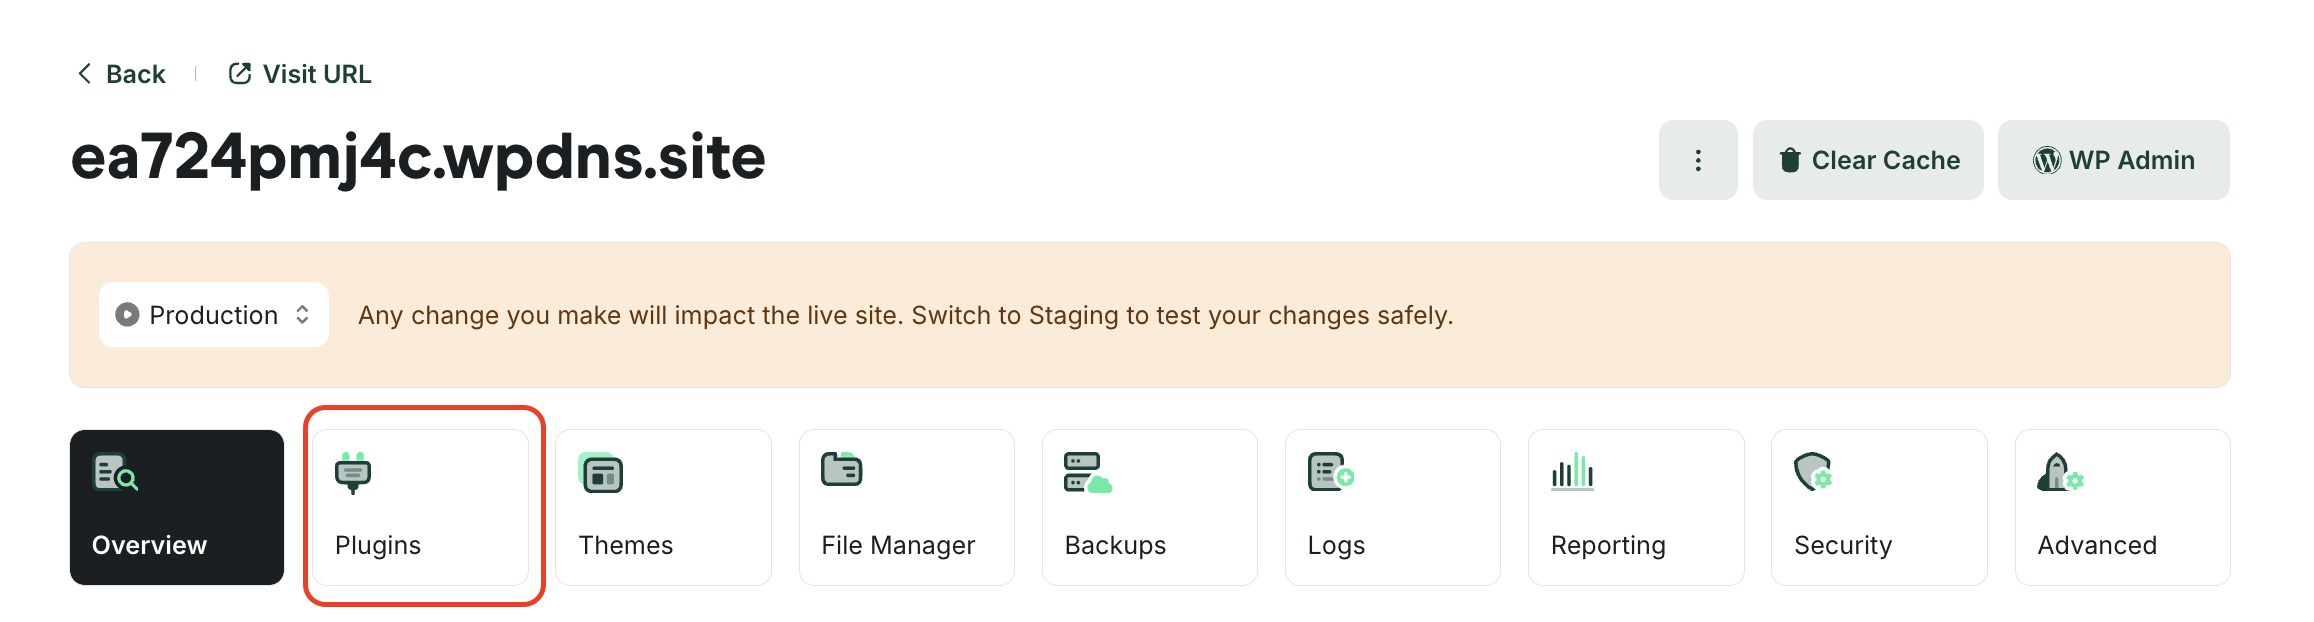
4. The mochahost.com Dashboard appears. Click the **Plugins** icon:
5. On the Installed **Plugins** tab appears a list of your installed plugins. Locate the WooCommerce plugin, and then in the Actions column, click the three-dot icon, and then click **Activate**:

6. In the **Activate Plugin** dialog box, click **Activate**. The status changes to **Active**:

7. You are now ready to configure your store in WooCommerce.