> ## Documentation Index
> Fetch the complete documentation index at: https://kb.mochahost.com/llms.txt
> Use this file to discover all available pages before exploring further.
# How to configure DNS at Namecheap for Mochahost Managed WordPress
> Learn how to configure DNS settings at Namecheap for Mochahost Managed Hosting for WordPress.
This article describes how to update your domain's DNS settings at Namecheap to point to a Mochahost Managed Hosting for WordPress site.
Important\
Before you modify your domain's DNS settings, make sure you follow our [Mochahost Managed WordPress Quick Start Guide](https://kb.mochahost.com/docs/mochahost-managed-wordpress-quick-start-guide) to learn how to use the **Go Live!** feature in the Mochahost Dashboard.
To update DNS settings at Namecheap, follow these steps:
1. Locate your site URL on the Mochahost Dashboard:
1. Log in to the Hosting Panel at [https://clients.mochahost.com](https://clients.mochahost.com)
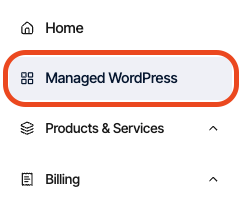
2. In the left sidebar, click **Managed WordPress**.
3. On the **My Websites** page, locate the site, and then click **Manage.**
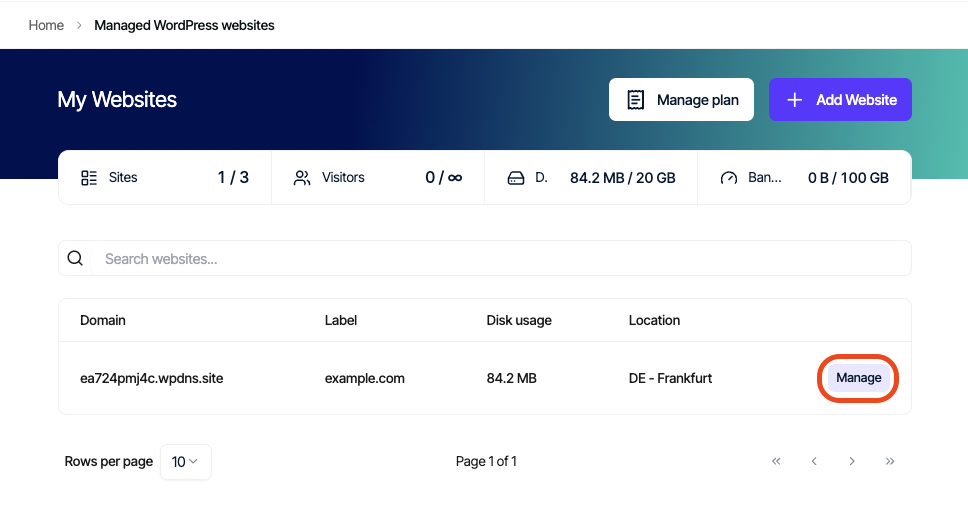
4. The site URL appears at the top of the page (for example, abc123.onrocket.site).
2. Log in to your [Namecheap account.](https://www.namecheap.com/myaccount/login/)
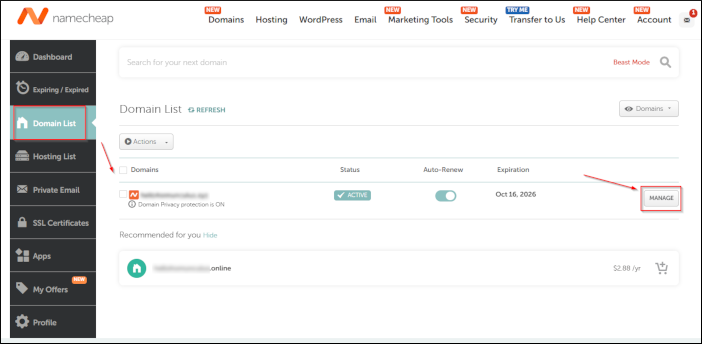
3. In the left sidebar, click **Domain List,** locate your domain, and then click **Manage**.
4. Go to the **Advanced DNS** tab at the top of the page, and then locate the Host Records section.
5. Click **Add New Record.**
6. In the **Type** list box, select **A Record.**
7. In the **Host** text box, type @. (The @ symbol represents your bare apex domain, such as example.com).
8. In the **Value** text box, type **104.19.154.92**.
9. If you’re also pointing the www subdomain (for example, [www.example.com](http://www.example.com)) to us, click Add New Record again and create a CNAME record for www
10. Click **Save All Changes** each time you need to save the record.
Note
It may take up to 24 hours for DNS to fully propagate around the world. However, typically these changes take place in just a few minutes.