> ## Documentation Index
> Fetch the complete documentation index at: https://kb.mochahost.com/llms.txt
> Use this file to discover all available pages before exploring further.
# How to use SSH and WP-CLI from the command line on Mochahost Managed WordPress
> Learn how to use SSH to run the WP-CLI tool from the command line directly on Mochahost Managed WordPress.
If you have never used the command-line interface or WP-CLI before, this guide is for you.
WP-CLI is a powerful way to manage WordPress and plugins. From the command-line interface, there is no such thing as a timeout, and you can import long files, clear the cache, back up your website, and much more!
Tip
* Before you use WP-CLI, please read the release announcement at the [Rocket.net blog](https://rocket.net/blog/introducing-web-based-wp-cli-terminal-for-managed-wordpress-hosting/) for an overview and some basic information about how to use it.
* You can also run WP-CLI directly from the Mochahost Dashboard without having to set up SSH. For information about how to do this, go to [Using WP-CLI in the Mochahost Dashboard](https://kb.mochahost.com/docs/using-wp-cli-in-the-mochahost-dashboard).
# Step 1: Generate an SSH key pair
To access WP-CLI from the command line, you must first create an SSH key pair for your account. To do this, follow these steps:
1. Open your system’s terminal or command-line tool:
* Microsoft Windows: Use **Command Prompt** or **PowerShell**.
* Apple macOS and Linux: Use **Terminal**.
2. At the command prompt, type the following command:\
`ssh-keygen -t rsa`
3. When prompted:
i. Press **Enter** to accept the default location (usually \~/.ssh/id\_rsa or similar).
ii. Leave the passphrase empty.
4. After the key pair is generated, to view and copy your public key type:\
`more .ssh/id_rsa.pub`\
You will need the public key in the next procedure.
# Step 2: Add the public key in the Mochahost Dashboard
To add your public key in the Mochahost Dashboard, follow these steps:
1. Log in to the Hosting Panel at [https://clients.mochahost.com](https://clients.mochahost.com).
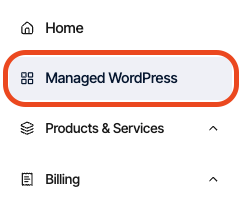
2. In the left sidebar, click **Managed WordPress**:
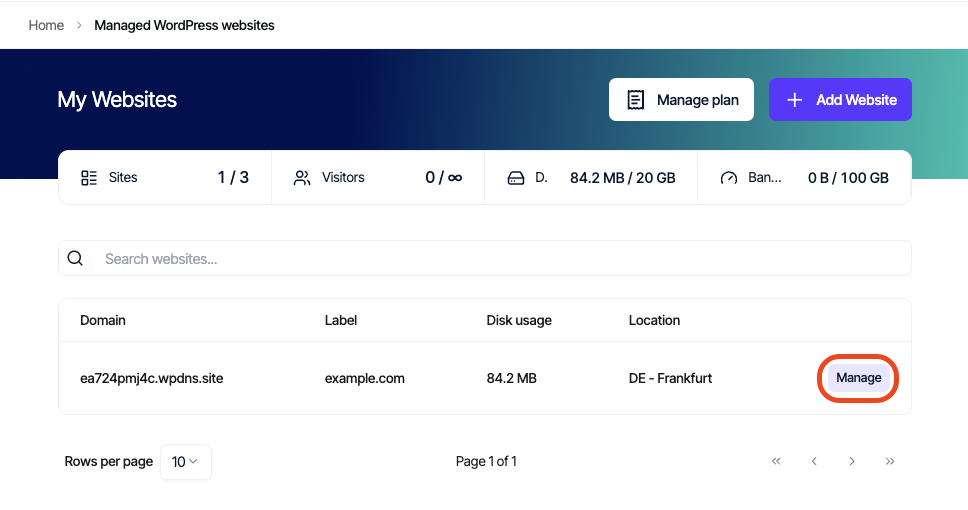
3. On the **My Websites** page, locate the site for which you want to enable SSH, and then click **Manage**:
4. On the Mochahost dashboard, click the **Advanced** icon:
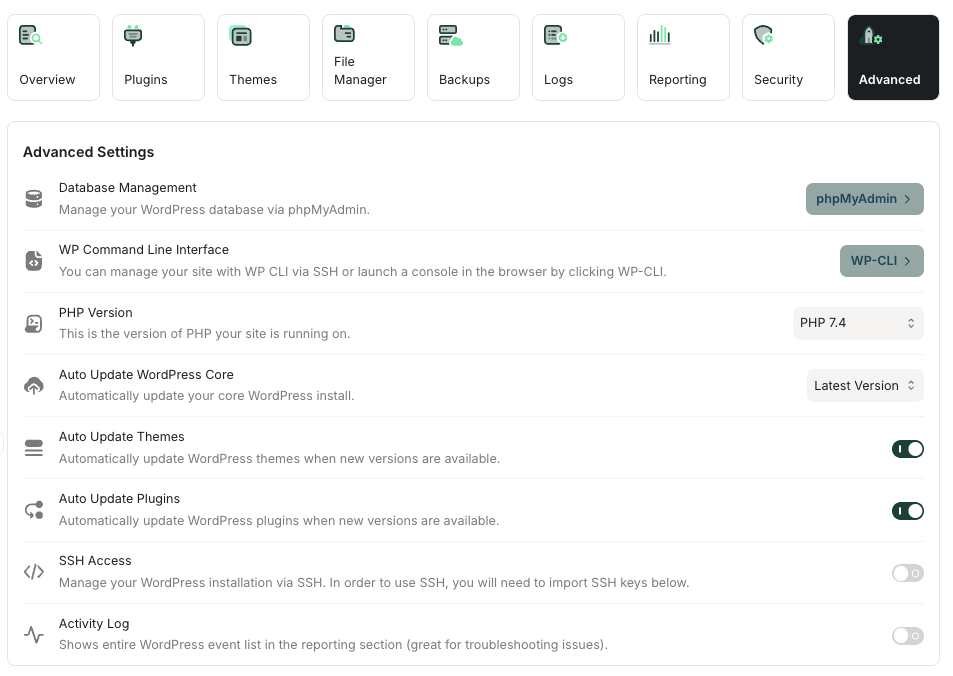
5. In the **Advanced Settings** section, click the **SSH Access** slider if it is not already enabled:

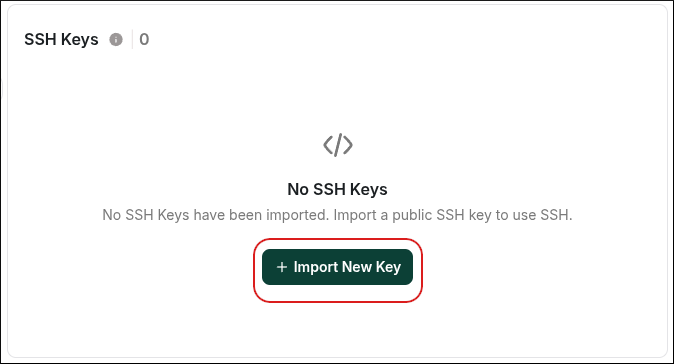
6. Scroll down to the **SSH Keys** section, and then click **Import New Key**:
7. In the **Import New Key** dialog box: In the **Key Name** text box, type a descriptive name for the key.
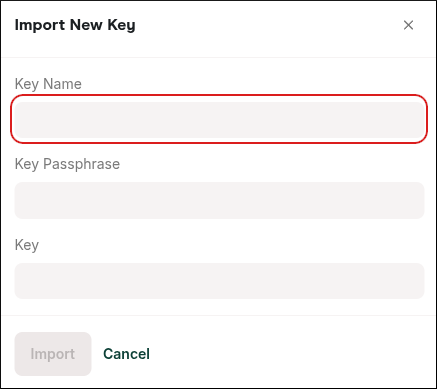
8. In the **Key Passphrase** text box, type the passphrase for the key. If you did not create a key passphrase, leave it blank.
9. In the **Key** text box, paste the public key.
10. Click **Import**.
11. After importing the key, activate it by clicking the checkmark next to it so it is allowed to access SSH.
# Step 3: Connect to the server and run WP-CLI
You're ready to connect to the server and run WP-CLI. To do this, you need your SSH username and server IP address.
Tip
You can find the SSH username and server IP address on the **General** tab in the **Site Information** section, just above the **FTP Accounts** section.
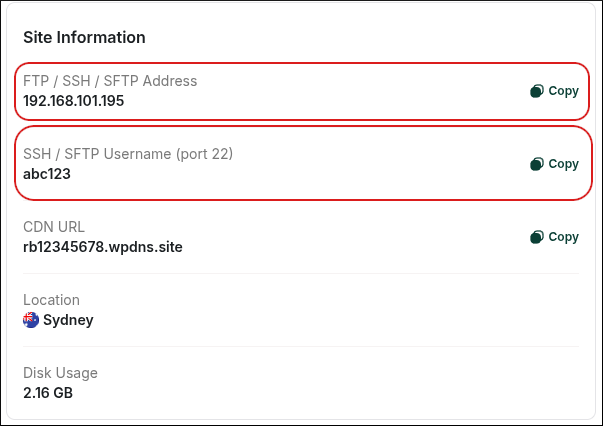
When you have the username and IP address, go back to your terminal and then type the following command. Replace sshusername and IPaddress with the correct values for your account:
`ssh sshusername@IPaddress`
Note
If this is your first time connecting, you may receive a warning message. Type `y` and press Enter.
You are now at the command prompt. Type the following command to go to the public\_html directory:\
`cd public_html`
You can now run WP-CLI commands. For example, you can purge the cache:\
`wp cache flush`
You can purge the CDN cache:\
`wp cdn purge`
You can view your current domain:\
`wp option get home`
Tip
For more information about WP-CLI and its various commands, go to the [WP CLI documentation](https://developer.wordpress.org/cli/commands/).
.