Allow/Deny IPs via web.config
In order to allow or deny cetain IPs via the web.config, please follow the steps below:
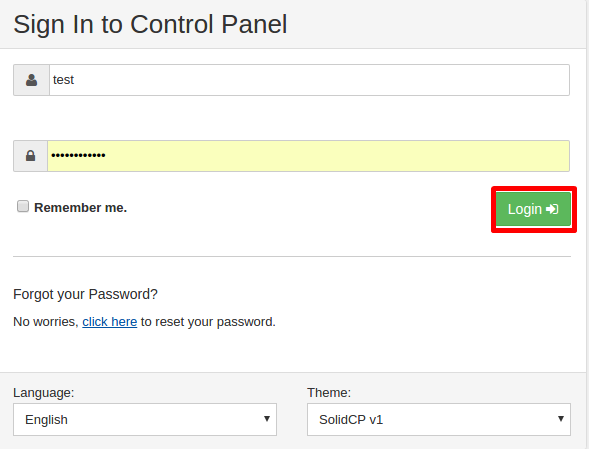
- Login to the WebsitePanel
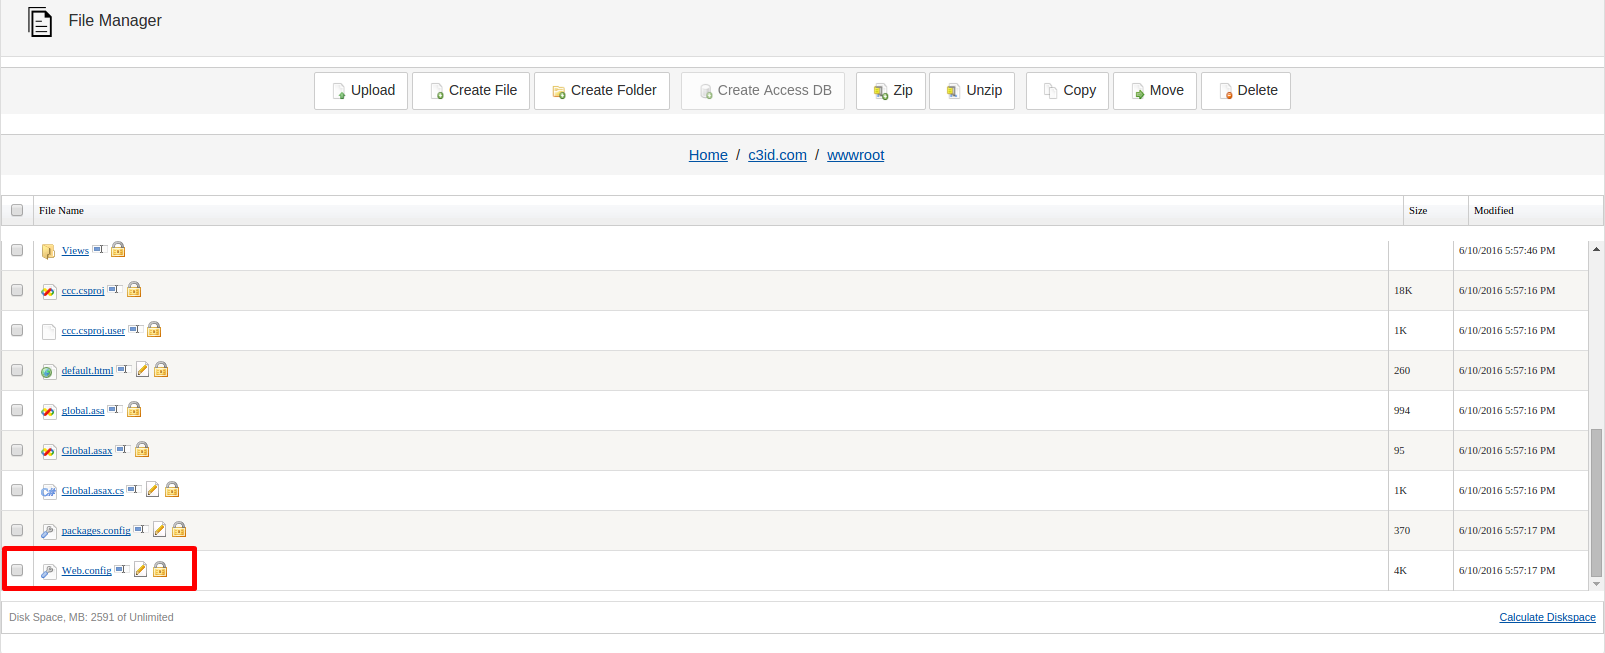
- Choose File Manager from under your Hosting Space (Soho/Business/Mocha...).
- Navigate to your domain.com/wwwroot/ directory and edit the web.config.
- Add the following code into your web.config just under the tag.
For blocking specific IP addresses:
`
`
PS: 10.0.0.1 being the IP you wish to block.
Deny all, but allow specific IPs or networks:
`
`
PS: 127.0.0.1 is allowed so the web-server/localhost can connect to your website and process your files.
If you wish to allow / deny a whole network rather than just one IP, you can add the following between the IP address subnetMask="255.255.255.0" (you will need to chang the subnet Mask depending on the range of the network), so the completed line will look like this:
``
- After you are done modifying the web.config, click Save.
Updated 4 months ago