To setup CloudFlare nameservers for your domain, please follow the steps below:
- Go to www.cloudflare.com and click the Sign up link at the top of the page.
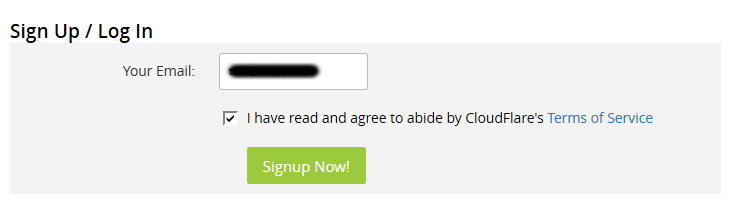
- Once you have signed up, you will receive an email from CloudFlare with a password setup link. Click on it and you will be redirected to a menu with an option to set up the password for the CloudFlare account. Once done, you will be able to log in.

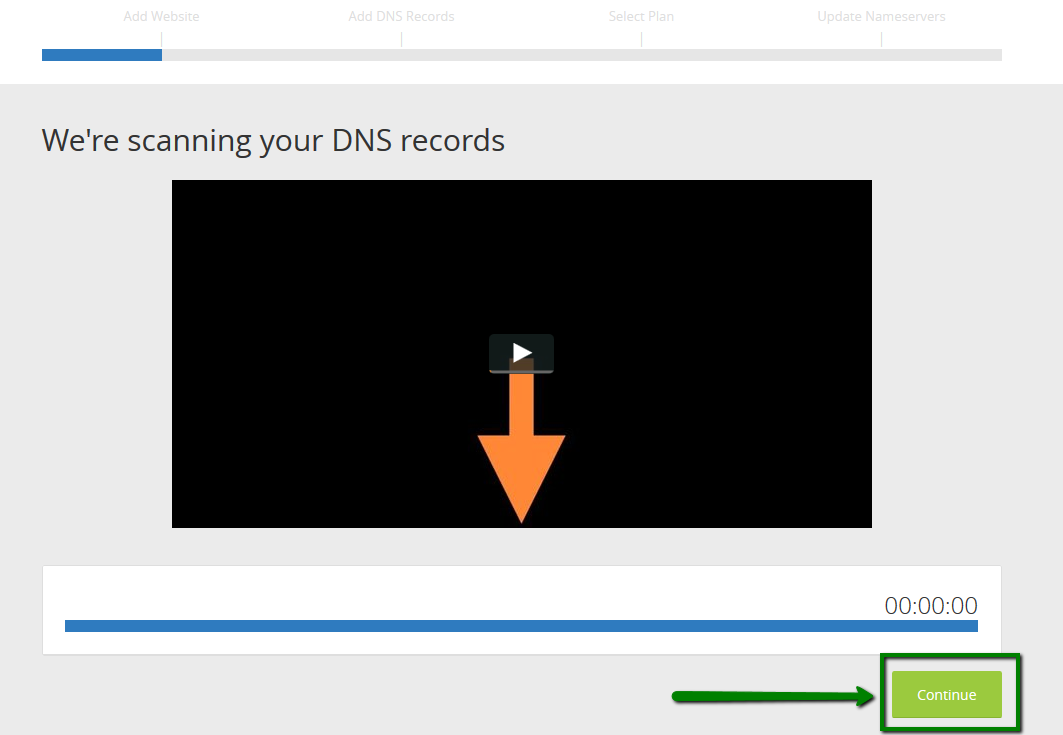
- After the scan is over, click Continue.
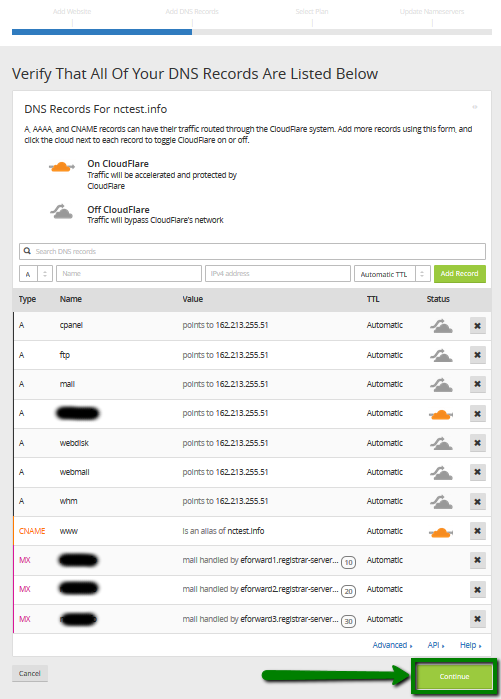
- On the next page you will need to double-check if the DNS records match the ones in your cPanel and click Continue.
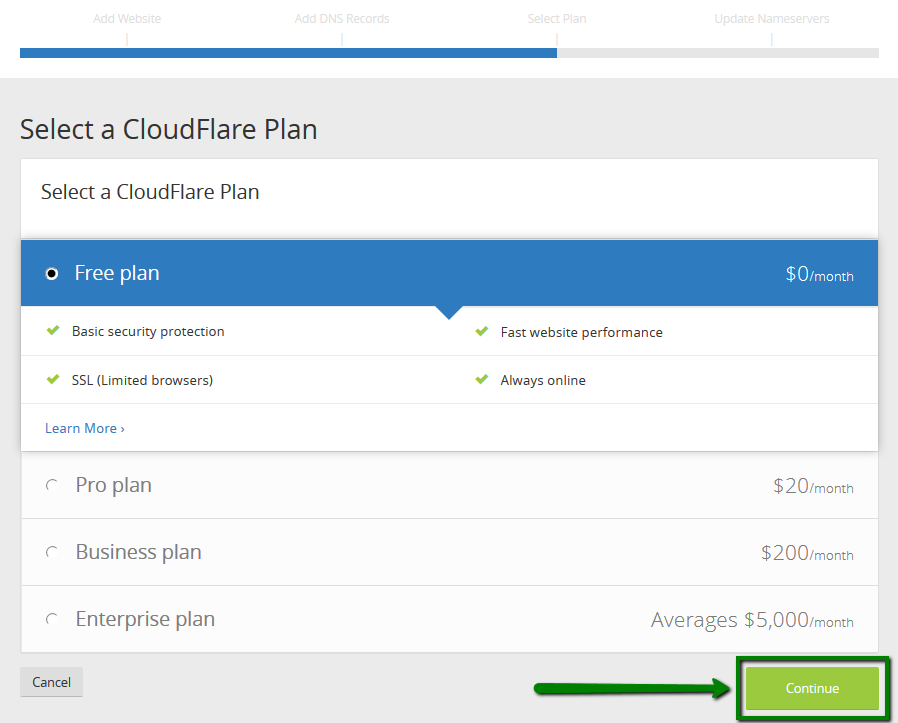
- Choose the desired service plan and click Continue.
- On the next page, you will be offered to change nameservers to the CloudFlare ones.
 If your domain is registered with another domain registrar, you need to log into your account there and change the nameservers for the domain.
If your domain is registered with Mochahost, you need to follow the instructions in the link below:
If your domain is registered with another domain registrar, you need to log into your account there and change the nameservers for the domain.
If your domain is registered with Mochahost, you need to follow the instructions in the link below:
- Once the nameservers are set up, return to the CloudFlare tab and click Recheck Nameservers.

- If the nameservers have been successfully updated, you will see Status: Active message. Now you may proceed with setting up DNS records in the DNS menu.

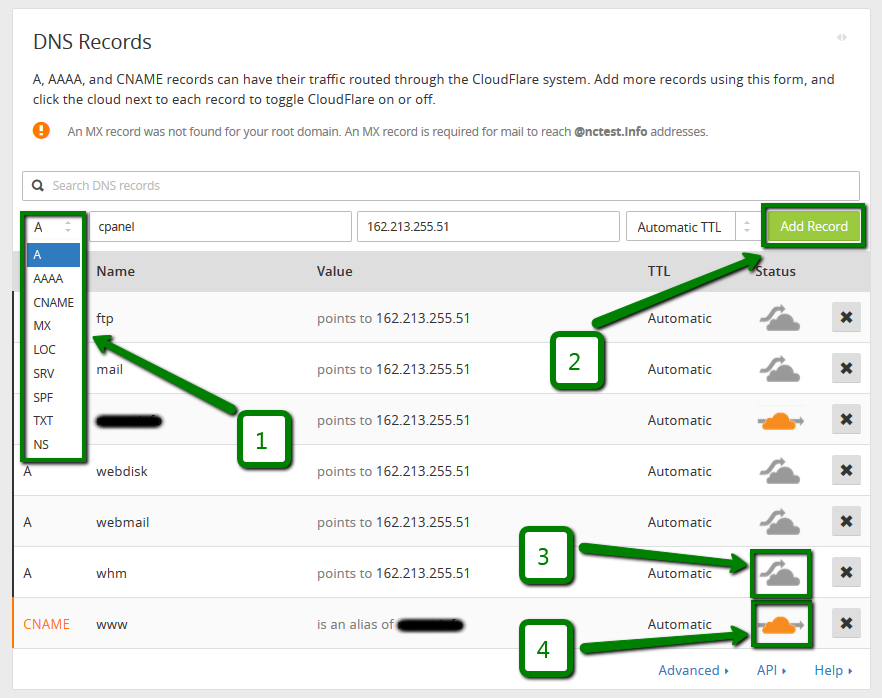
- On the DNS Records page, you may add or delete the DNS records for your domain. In order to add any record, click Add Record (2) and choose the record type you need (1), the hostname (subdomains or domain itself) and value of the record. TTL will be set up automatically. Also, you may deactivate (3) or activate (4) the CloudFlare service for each record by clicking on the orange/grey cloud under the Status column.
 Once the nameservers have been set up, it may take up to 12-24 hours for local ISPs to update their DNS caches so that everyone can see your website.