

- Login to the WebsitePanel.
- Click Databases under your Hosting plan and choose MySQL 5.x.

- Click Create Database.

- Choose Database name and click Save.

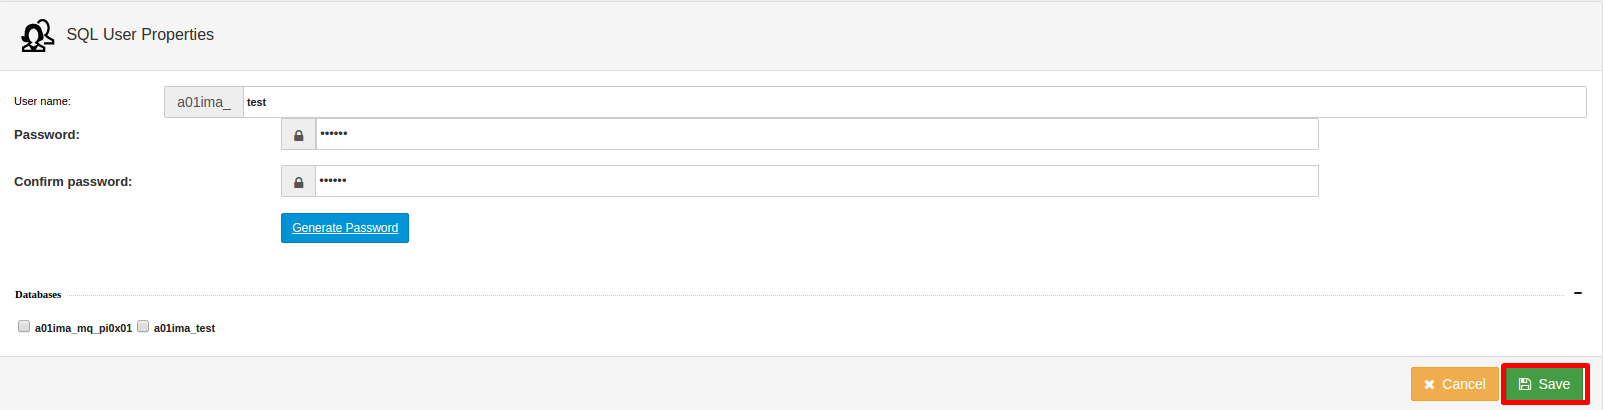
- Click Create user.

- Choose Username and Password, check the database (previously created) to add ownership and click Save.
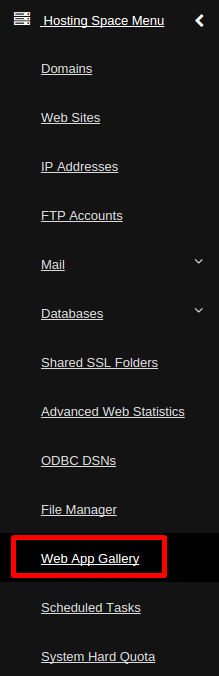
- Click on Web App Gallery in the Hosting Space Menu Tab.
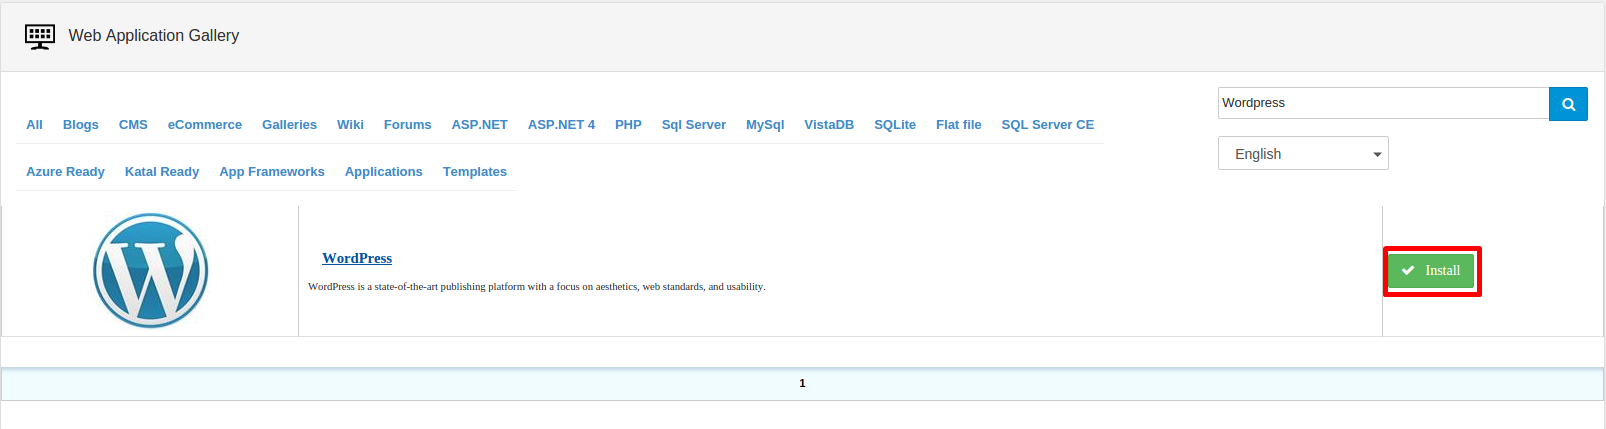
- Type Wordpress in the Search Bar click Search and choose Install.
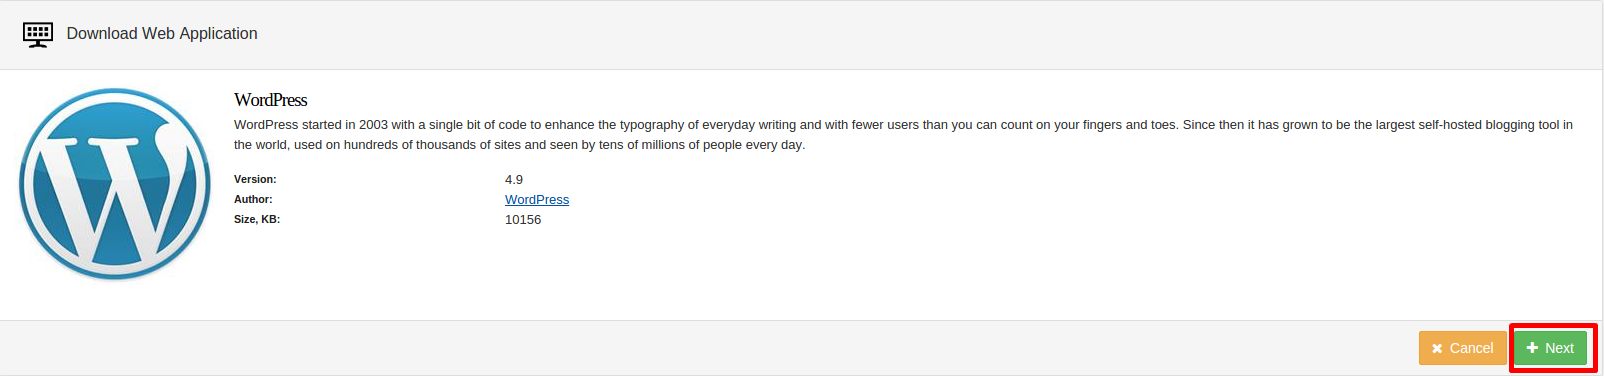
- On the next page click Next.
 Note: You may see a warning about missing dependencies, you can safely ignore this as the PHP version will be configured afterwards.
- Fill in the missing tabs with the following data:
- Click Install.
- You will see a message “Congratulations the application has been successfully installed!” click OK to finish the installation.
- Type your website (https://domain.com) in the browser to continue managing your WordPress Application.