Create WordPress Staging site

Accessing WordPress Managed by MochaHost

WordPress Manager allows you to update several settings for your WordPress installation without even having to login to WordPress admin panel.

In order to access WordPress Manager you can click on the “WordPress Managed by MochaHost“ in cPanel as shown in the below screenshot.

Create WordPress Staging site

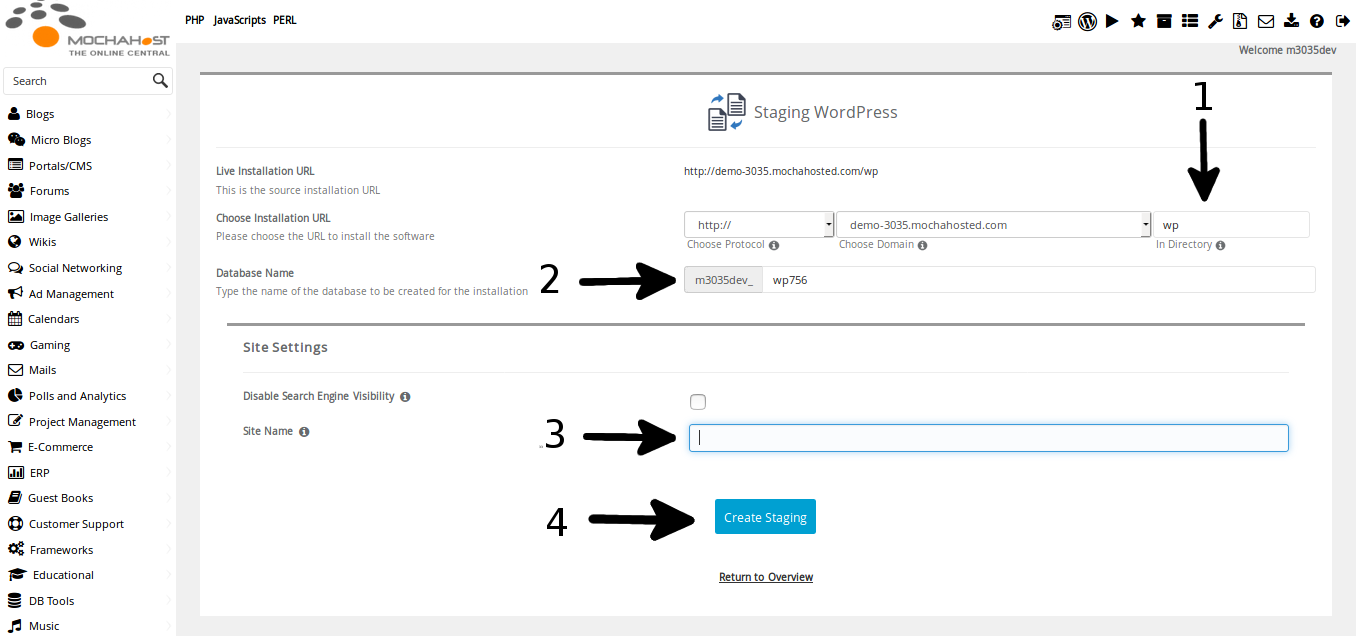
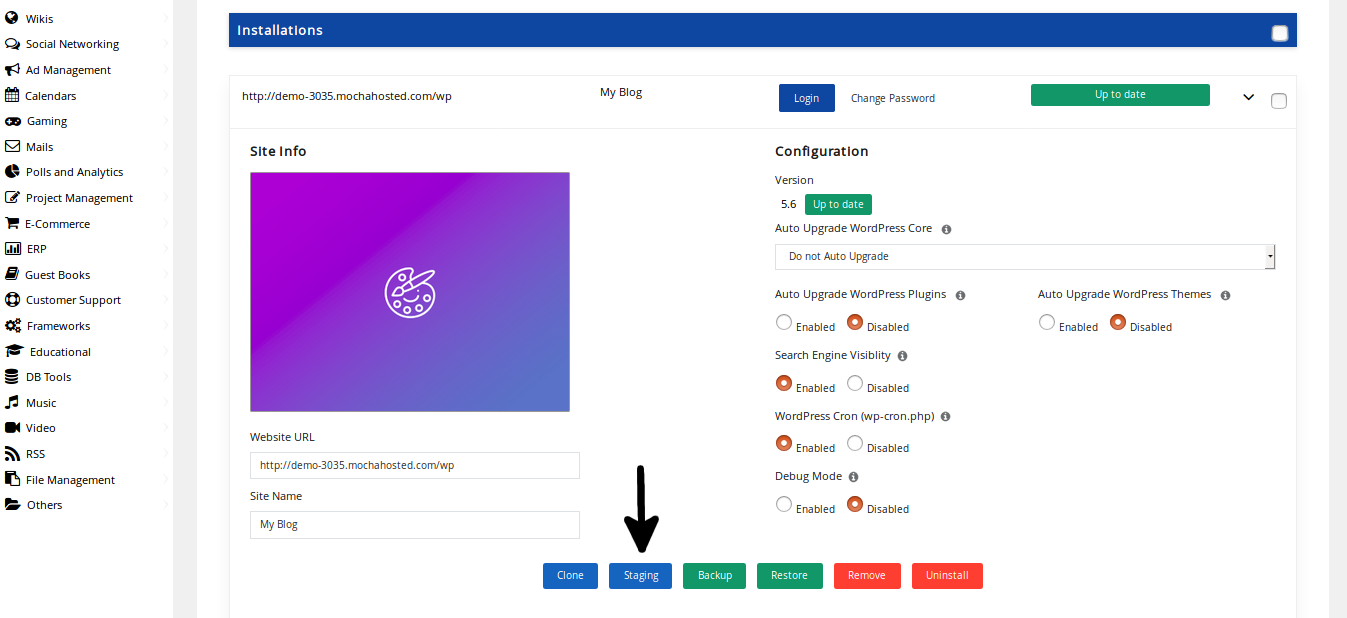
This guide will help you how to Stage an installation. You can stage an installation to test the upgrades or the changes before applying it to the main installation and then you can push the changes to the main installation. We will stage the installation to a sub directory stage.

  1. Choose the installation you want to Stage.

  1. Fill in the Staging Installation Details

Fill in the staging installation details i.e. Choose domain, Directory, Database name, etc Click on the Stage Installation button and this should do the trick. The time taken may vary in accordance to size of your installation, So please be patient. You can now use this stage installation to test the updates or any other changes you may want to test.

NOTE: You will receive the staging installation details via email (if the emails are enabled).

NOTE: The admin/user account login details will be the same as the source installation.

Click on the Create Staging button at the bottom.  The Staging page will appear with the current installation details and a form to fill in the details for the stage installation.