How to configure REDIS
- Login to your DRUPAL admin panel.
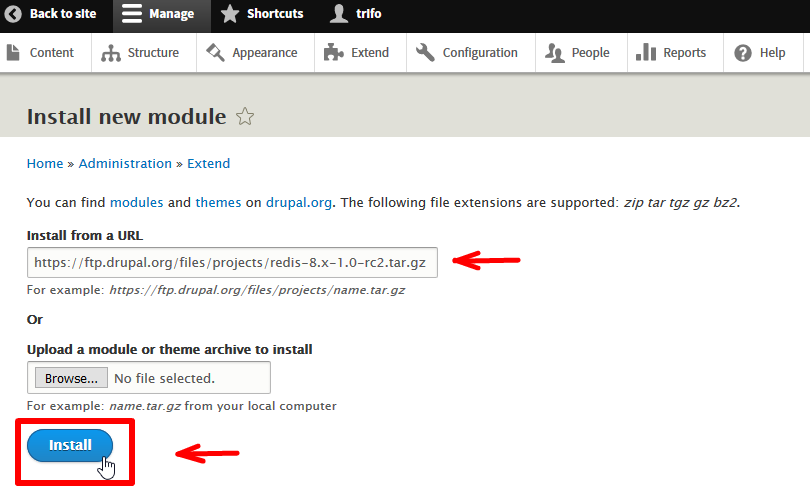
- Navigate trough the following steps - Drupal Admin area >> Extend >> + Install new module >> Install from a URL >>https://www.drupal.org/project/redis >> Install.
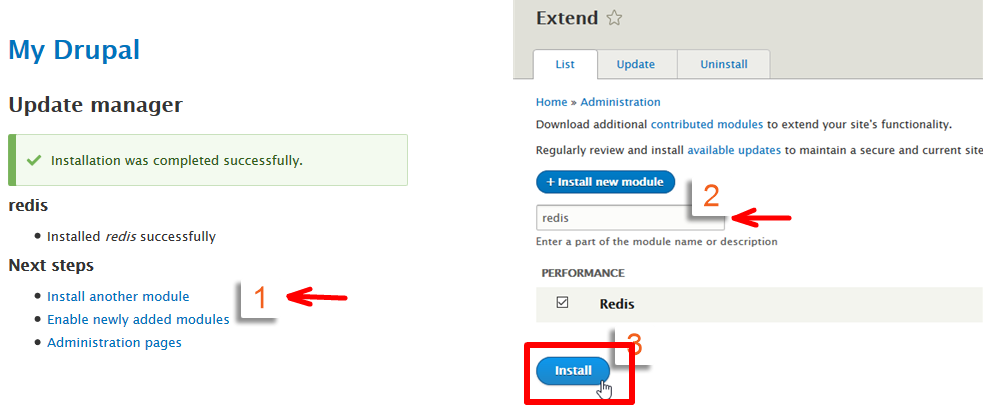
- Click Enable newly added modules and enable Redis.
- Edit Drupal settings file at ./sites/default/settings.php and add these lines at the bottom of the file:
$conf['redis\_client\_interface'] = 'Predis'; $conf['redis\_client\_host'] = 'hostname'; $conf['redis\_client\_port'] = port; $conf['redis\_client\_password'] = 'password'; $conf['lock\_inc'] = 'sites/all/modules/contrib/redis/redis.lock.inc'; $conf['cache\_backends'][] = 'sites/all/modules/contrib/redis/redis.autoload.inc'; $conf['cache\_default\_class'] = 'Redis\_Cache';
PS: The variables you should edit: hostname, port, password are found on your Cpanel > Redis information.
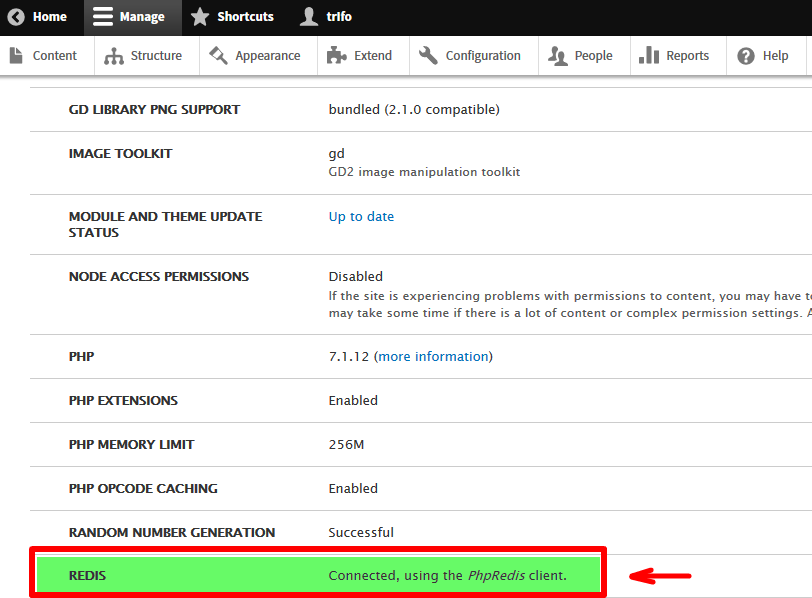
- Clear your Drupal cache: Admin >> Configuration >> Performance >> Clear all caches and then visit the status report page: Admin >> Reports >> Status report.