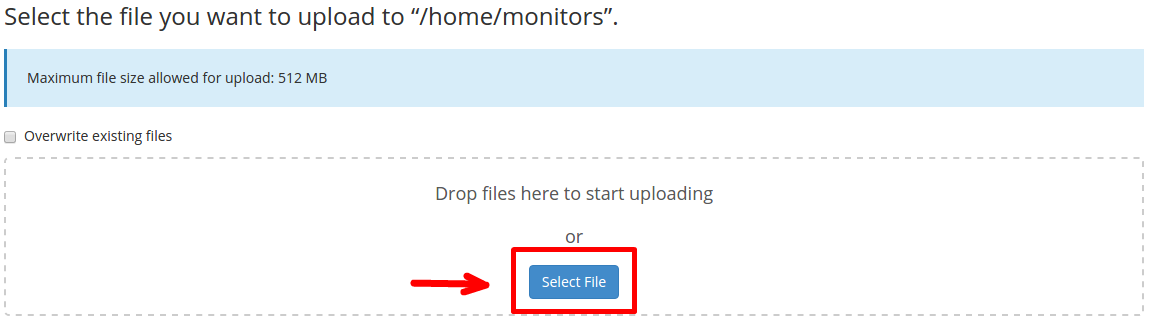
Enabling JCE for your JDK (Java-Linux VPS/CLOUD)

You will need to install the correct JCE version corresponding to the the JDK version which the client has set for his application. Below are a few examples of the most used JDK/JCE version and links from where to download them:

JCE 6 / JDK 1.6: https://www.oracle.com/technetwork/java/embedded/embedded-se/downloads/jce-6-download-429243.html

JCE 7 / JDK 1.7: https://www.oracle.com/technetwork/java/embedded/embedded-se/downloads/jce-7-download-432124.html

JCE 8 / JDK 1.8: https://www.oracle.com/technetwork/java/javase/downloads/jce8-download-2133166.html

  1. Download the archive jce\_policy-$.zip and move it to your home directory (/home/user$) using Cpanel > File Manager

PS. The symbol '$' stands for dynamic values.

  1. Login to your server via SSH.

  2. Navigate to the home directory of the user /home/user$/.

# cd  /home/user$/

  1. Extract jce\local\_policy.jar and jce\US\_export\_policy.jar from the archive to the folder /usr/local/jdk$/jre/lib/security, overwriting the files already present in the directory.

# unzip jce\_policy-$.zip

-- generally there will be a sub-folder in this archive, in this case navigate onto it as such

# cd UnlimitedJCEPolicyJDK$ # cp -rf *.jre /usr/local/jdk$/jre/lib/security

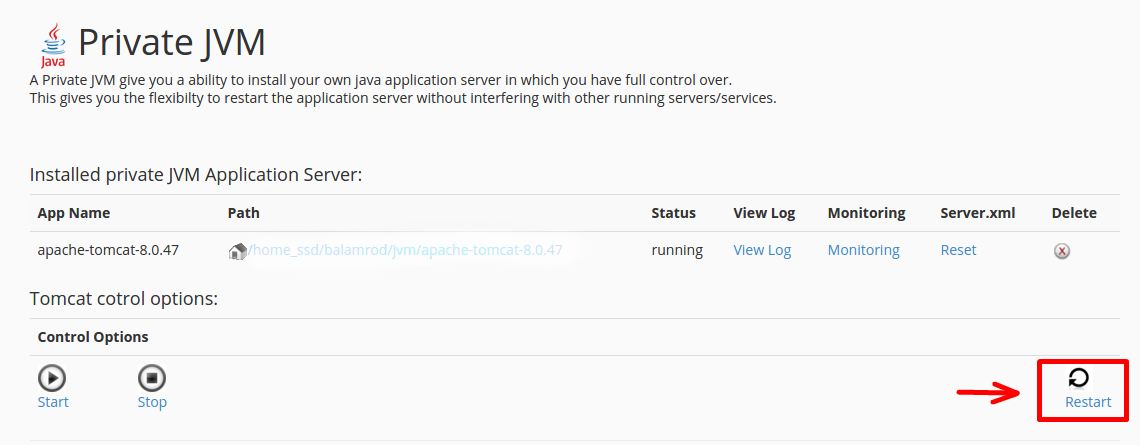
  1. After that restart the Tomcat enviroment from your Cpanel > Private JVM plugin.