Installing LARAVEL on our Linux Shared plans via Softaculous:
NOTE: This will only install the framework under your user, however if you are on a Shared Hosting plan (restricted or no SSH access) you won’t be able to use most of it’s functionalities. How to properly deploy your LARAVEL Project on a Shared Plan will be covered below in the next section. 1. Login to your Cpanel.
- Under SOFTWARE section, choose Softaculous Apps Intaller.

- Type Laravel in the search-bar and on the next window click Install Now.
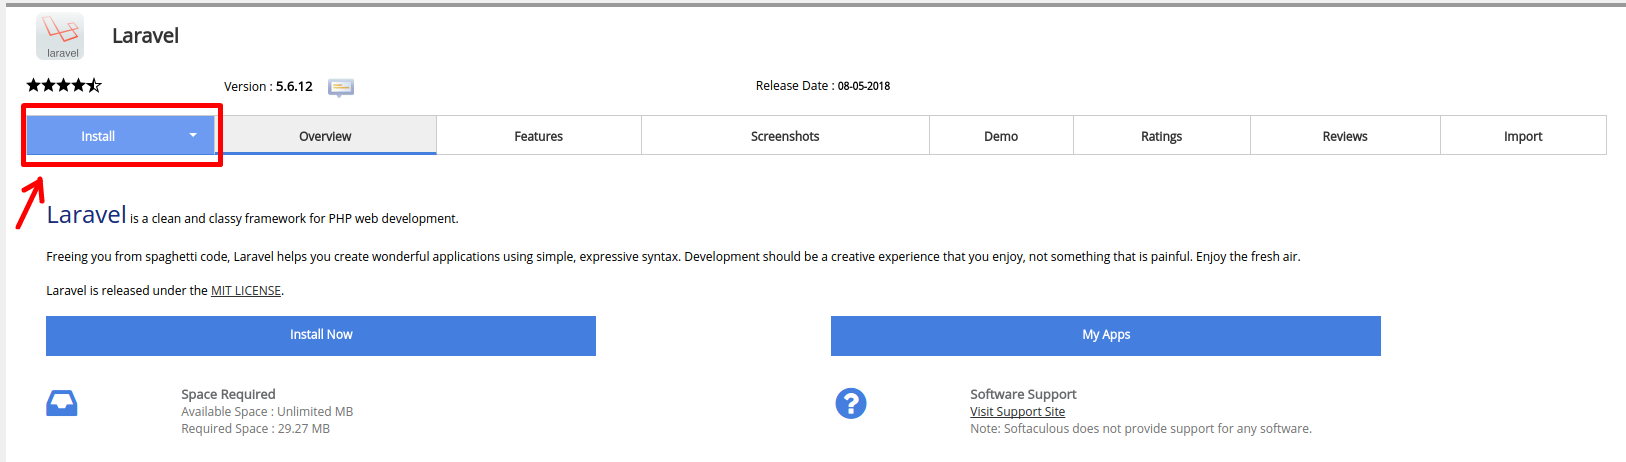
- On the next page fill in the requested information and choose Quick Install.

- Choose Protocol: choose SSL or non-SSL protocol (http/https)
- Choose Domain: the domain to install the software
- In Directory: name of the directory to which you wish the application be installed
- Click Install.

- If the Laravel application is installed properly, you will see the message below:

Deploying your LARAVEL 5 Applications on a Shared Hosting
After you have finished building your LARAVEL 5x application on your local machine and assuming your project is called laravel50, please proceed to compress (.zip) your whole project on your local PC. Once this is done, please follow the steps below:- Open your cPanel.
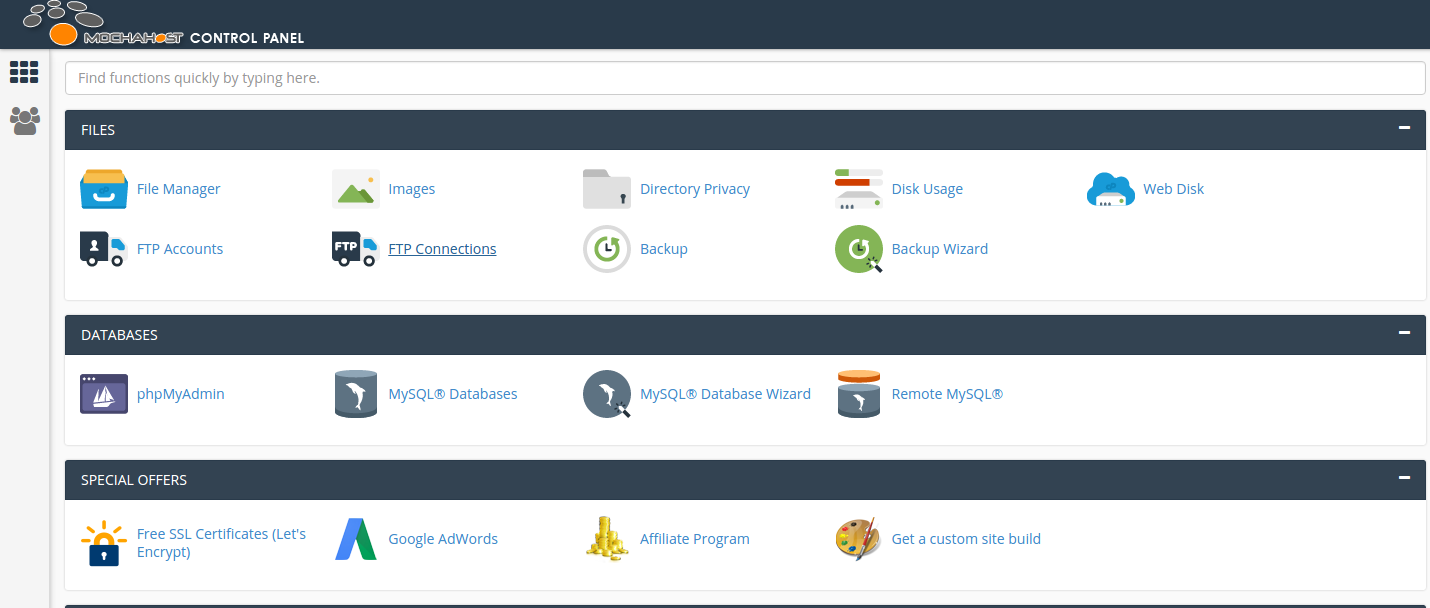
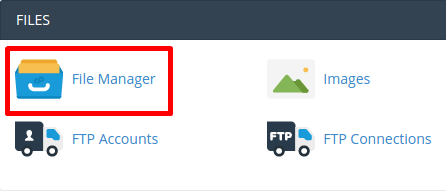
- Click on File Manager.
- Click on Upload.
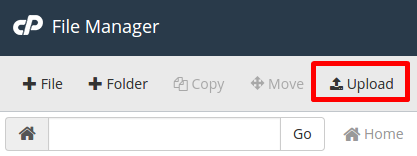
- Upload the laravel50.zip to the root directory – not the public\_html.
- Extract the laravel50.zip. Your cPanel file manager should be looking something close to this:
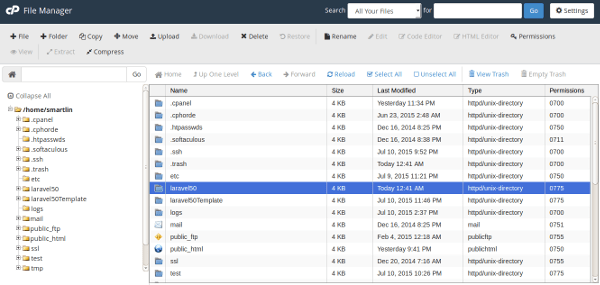
- Open the laravel50 folder and MOVE the CONTENTS of the public folder to your cpanel’s public\_html folder (or to the folder where you want your LARAVEL project to reside).
- Navigate to the public\_html folder and locate the index.php file. Right click on it and select Code Editor from the menu.

- This will open up another tab showing the cpanel Code Editor, change the following lines (22 and 36) from…
require \_\_DIR\_\_.'/../bootstrap/autoload.php';
…
$app = require\_once \_\_DIR\_\_.'/../bootstrap/app.php';
to
require \_\_DIR\_\_.'/../laravel50/bootstrap/autoload.php';
…
$app = require\_once \_\_DIR\_\_.'/../laravel50/bootstrap/app.php';
NOTE: According to your projects folder name. 9. The .htaccess file should look something like this (do not change it unless you are familiar with what you want to do):
- If everything went well, your website should now throw a database error, this is because you haven’t migrated your database yet.
Restoring your database:
To do that, you will first need to create a MySQL database and user from the CPanel. To create a MySQL database follow this TUTORIALTo create a MySQL user follow this TUTORIAL. After this you will need to restore your MySQL backup done on your local machine to the newly created MySQL database you have made. To restore your MySQL backup follow this TUTORIAL