
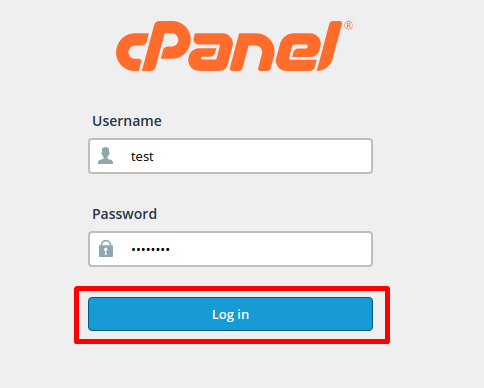
- Login to your Control Panel.
- Click on the DNS zone and add the MX record, in our case this is achieved by clicking the MX Entry under Email.

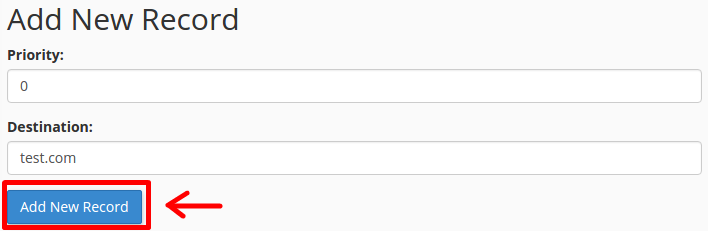
- Under Add New Record, you can type the priority and destination of the new mail server to which you wish to point the domain.
 Destination: The hostname to which you wish to point your mail server.
Priority: Priority numbers indicate the order in which the mail servers should be used, this enables the use of primary and backup mail servers.
Note: If you already have a MX record with priority “0” you will need to remove it in order to set the new MX record.
Destination: The hostname to which you wish to point your mail server.
Priority: Priority numbers indicate the order in which the mail servers should be used, this enables the use of primary and backup mail servers.
Note: If you already have a MX record with priority “0” you will need to remove it in order to set the new MX record.
- When you are ready click Add New Record and after the DNS propagate you will be using the remote mail server.